

Microcement is a specialist, hand-applied finish known for its seamless appearance, natural movement and versatility across different surfaces. With DIY microcement kits becoming increasingly accessible, homeowners have more options when considering how to achieve this finish.
While DIY kits offer a more accessible starting point, professional installation involves specialist knowledge and techniques that can influence the appearance, durability and long-term performance of the finished surface.
The right approach depends on the size and complexity of the project, where the microcement will be applied and the result you want to achieve.
At Lime & Marble, we specialise in microcement installations across residential and commercial interiors. In this guide, we explore the differences between DIY kits and professional installation, including application, preparation, finish quality and costs.
DIY Microcement vs Professional Installation: What’s the Difference?
The main difference between DIY microcement kits and professional installation lies in the level of expertise involved, which can influence both the appearance and long-term performance of the finished surface.
DIY kits typically provide the materials and instructions needed to apply microcement, although their contents and suitability vary between manufacturers.
Professional installation takes a more tailored approach, considering the condition of the existing surface, the most appropriate materials and the techniques needed to achieve the desired finish.
These differences become particularly important for larger or more complex projects, where consistency, durability and the quality of the finished surface are priorities.
Can You Apply Microcement Yourself?
Yes. Microcement can be applied using suitable DIY kits, although achieving a professional-quality finish requires practice and attention to detail.
Depending on the system, application typically involves:
- preparing and priming the existing surface
- mixing and applying multiple thin layers
- sanding between application stages
- applying protective finishes or sealers
Each stage influences the next, meaning mistakes during preparation or application can affect the completed surface.
Microcement is also different from paint or other conventional decorative coatings. Because it creates a continuous finish, uneven application, unwanted trowel marks or inconsistencies in texture can be difficult to disguise.
Correcting these issues may require additional sanding, preparation or reapplication rather than simply touching up one small area.
For a small decorative feature, this may be manageable. Across an entire floor, wall or bathroom, the time, materials and disruption involved in correcting an unsatisfactory finish can be considerably greater.
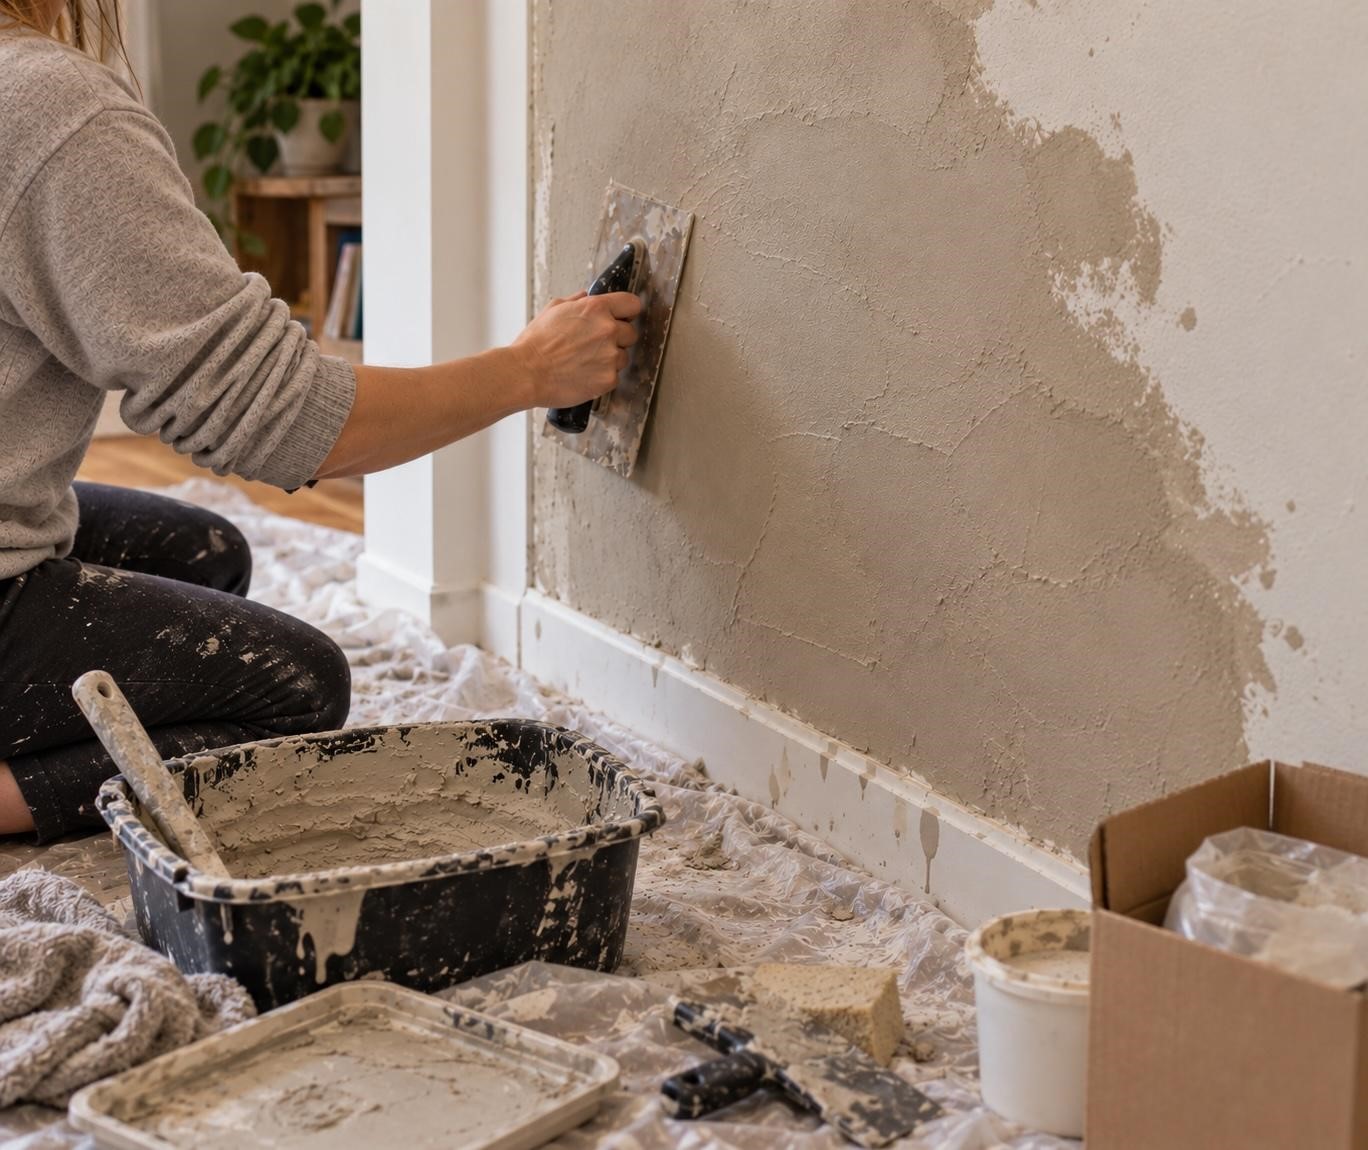
Why Is Surface Preparation Important for Microcement?
Microcement is applied in thin layers, meaning the condition of the underlying surface can significantly affect the finished result.
Loose tiles, cracks, movement and moisture problems may cause issues with adhesion or cracking if they are not addressed before application.
Different substrates also require different preparation methods. Applying microcement over existing tiles, for example, presents different requirements from working over concrete or plasterboard.
An experienced installer can assess these conditions and select suitable preparation materials and application methods, helping create a stable foundation for the finished surface.
Does Professional Microcement Look Better Than DIY?
Professional installation generally offers greater control over the colour, texture and consistency of a microcement finish, particularly across larger or more complex surfaces.
Unlike manufactured tiles or panels, much of microcement’s character comes from the application itself. Trowel movements, sanding and finishing techniques influence its depth, texture and natural tonal variation.
The challenge is creating these effects intentionally, rather than allowing inconsistencies in application to determine the final appearance.
This becomes particularly noticeable where microcement continues across multiple surfaces or needs to complement specific cabinetry, lighting and architectural details.
For homeowners, interior designers and architects, the ability to achieve a particular finish consistently can be just as important as the choice of colour.
At Lime & Marble’s Chichester showroom, you can see and feel different microcement finishes and explore how texture, movement and application techniques influence their appearance.
Are DIY Microcement Kits Suitable for Bathrooms and Showers?
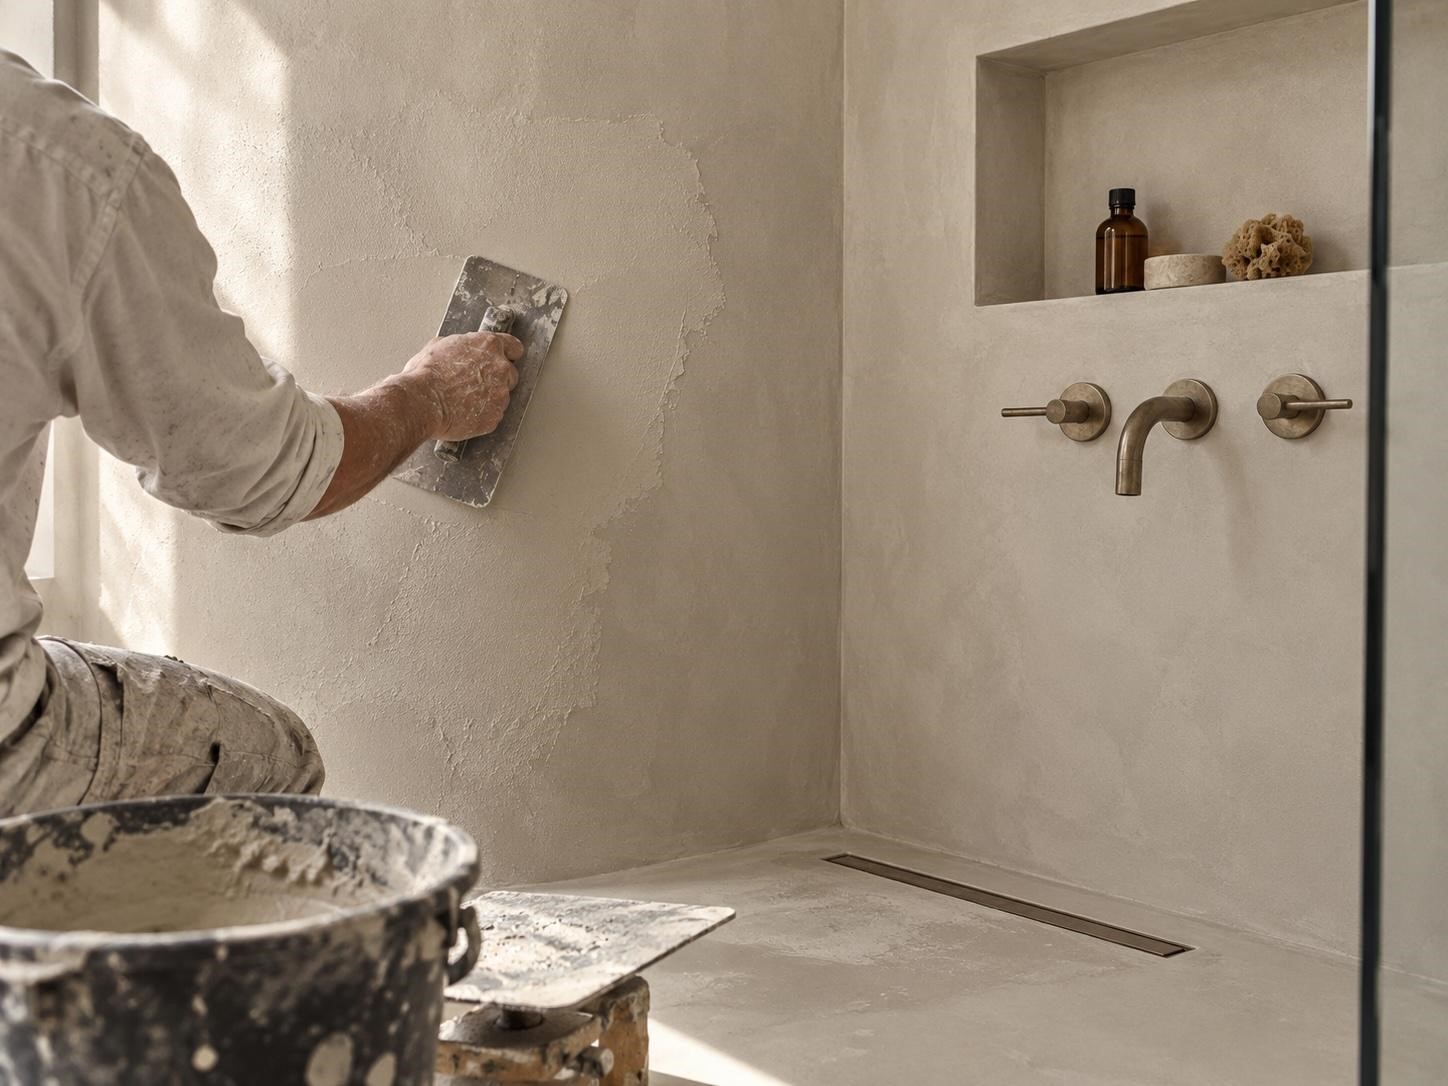
Some DIY microcement kits are marketed for bathroom use, but suitability depends on the product, installation requirements and level of water exposure.
A decorative bathroom wall, for example, presents very different challenges from a shower floor exposed to water every day.
Microcement systems also vary in their waterproofing properties. Some rely on protective sealers, while others incorporate waterproofing within the coating itself.
At Lime & Marble, we install specialist Forcrete microcement systems, including resin-hybrid finishes designed to be waterproof before sealing.
However, even a waterproof coating does not replace the need for suitable substrates, drainage and correctly detailed junctions.
In showers and wet rooms, small installation errors around corners, drains or junctions can allow water to reach the underlying structure, making these areas particularly important during installation.
For these reasons, applying microcement in bathrooms and other regularly wet areas is generally better suited to experienced professionals who understand the complete installation requirements, rather than the decorative coating alone.
Is DIY Microcement Cheaper Than Professional Installation?
DIY microcement kits generally cost less because homeowners undertake the labour themselves.
However, the price of a kit and a professional installation quote do not necessarily cover the same materials or work.
Depending on the product and existing surface, a DIY project may require additional preparation materials, tools, protective equipment and finishing products.
Professional installation typically includes substrate assessment and preparation, the selection of suitable materials, application and finishing.
The potential cost of correcting mistakes is also worth considering. An uneven finish or adhesion problem may require additional preparation or reapplication, reducing the savings made initially.
For a small decorative project, DIY can be a reasonable way to keep costs down. For a larger floor, bathroom or bespoke interior, the additional investment in professional installation may be more appropriate when considering the importance of the finished result and its long-term performance.
Ultimately, it is worth comparing the complete cost of achieving the desired microcement finish, rather than simply the price of the materials.
Should You Choose a DIY Microcement Kit or Professional Installer?
DIY microcement kits can be a reasonable option for small, straightforward decorative projects where there is room to experiment.
However, for larger surfaces, bathrooms, floors and projects where the finished appearance and long-term performance are important, professional installation is generally the better choice. The right preparation, materials and application techniques can make a significant difference to the final result.
At Lime & Marble, we specialise in bespoke microcement installations for residential and commercial interiors, combining specialist materials with experienced craftsmanship to create finishes tailored to each project.